ChromeOS
Chromebooks have been around for a while now, and ChromeOS continues to add and improve on it’s capabilities. Aside from playing the occasional video game on Epic or Steam, my Chromebook is my primary device for media consumption, coding, blogging, etc.
Neverware CloudReady
ChromeOS has only been available to those that buy a Chromebook or Chromebox until a company called Neverware found a way to use the OpenSource version of ChromeOS and Chromium to be installed on almost any PC hardware. It was called CloudReady, and if you could install Linux, CloudReady could most likely be installed. The downside is that it’s the unofficial open source version of Chrome, there were no Android or Linux containers, and it was alway several versions behind.
ChromeOS Flex
In December of 2020, it was announced that Neverware and CloudReady were acquired by Google and the ChromeOS team. In February of 2022, Google announced the first development version of ChromeOS Flex. The difference with ChromeOS Flex vs CloudReady is that ChromeOS Flex is an official version of ChromeOS with the Chrome web browser and support for Linux containers as long as your hardware is supported. That’s the catch, the hardware compatibility list is not nearly as vast as it was with CloudReady. If you’re lucky enough to own compatible hardware, installation is quick and easy, and the resulting ChromeOS Flex is just as fast and stable as it is on a Chromebook. Let’s get started…
Prepare Installation Media
Open the Chrome Web Store and search for “recovery”. You should see the Chromebook Recovery Utility ![]() at the top of the list. Install the extension. Open the Chromebook Recovery Utility under Extensions in Chrome.
at the top of the list. Install the extension. Open the Chromebook Recovery Utility under Extensions in Chrome.
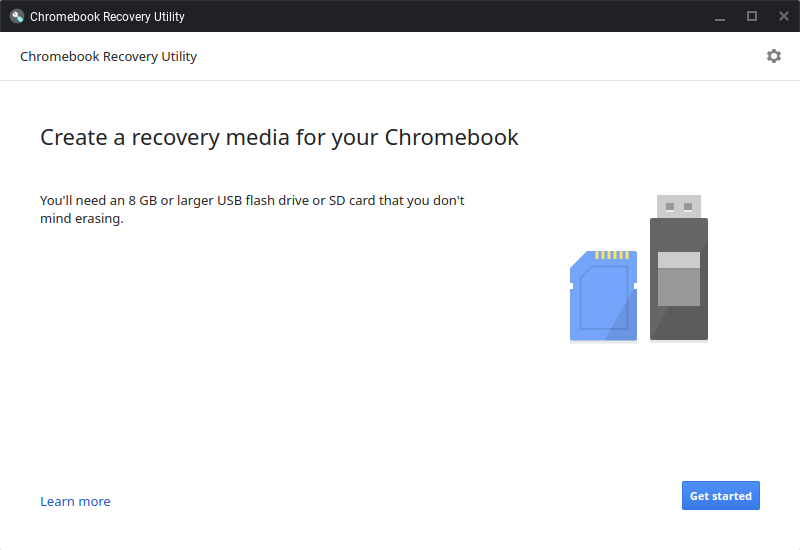
Click Gest started.
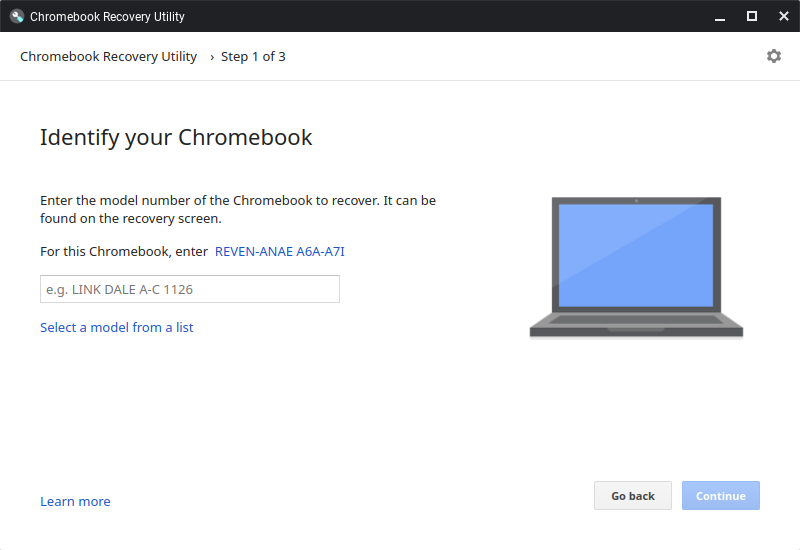
This is the most important and confusing step of the installation. You’re not actually trying to find your device since it’s not a Chromebook. Instead, click on Select a model from a list.

Under Identify your Chromebook select Google Chrome OS Flex and choose Chrome OS Flex under the second drop down. Click Continue when you screen looks like the image above.
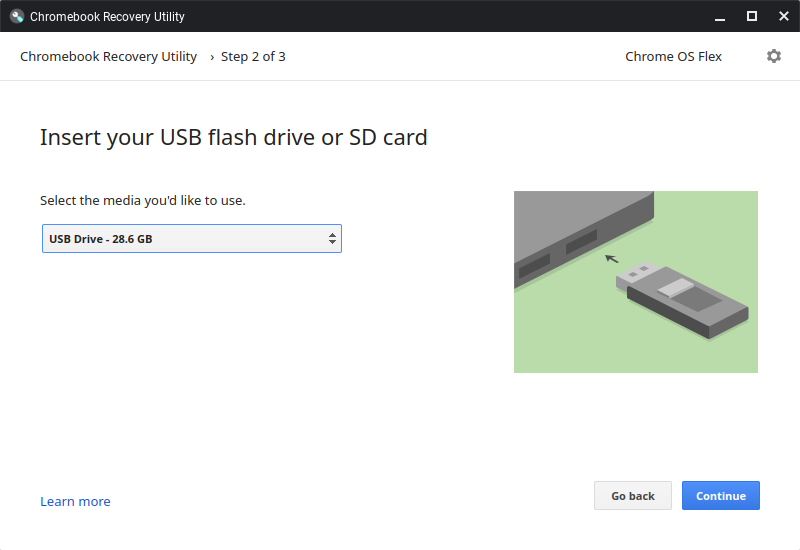
If you haven’t already, insert an 8GB or larger USB flash drive or SD card and select it from the list.
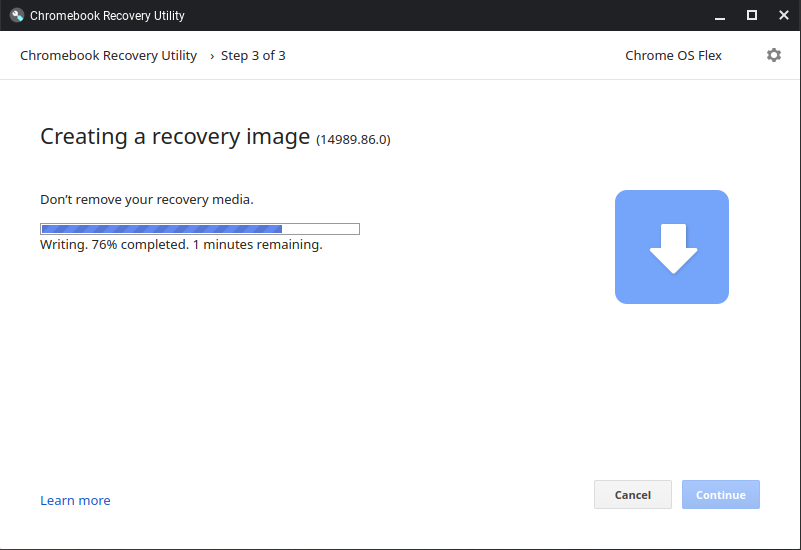
Sit back and wait while the utility downloads, extracts, and copies the ChromeOS Flex image onto your USB flash drive or SD card.
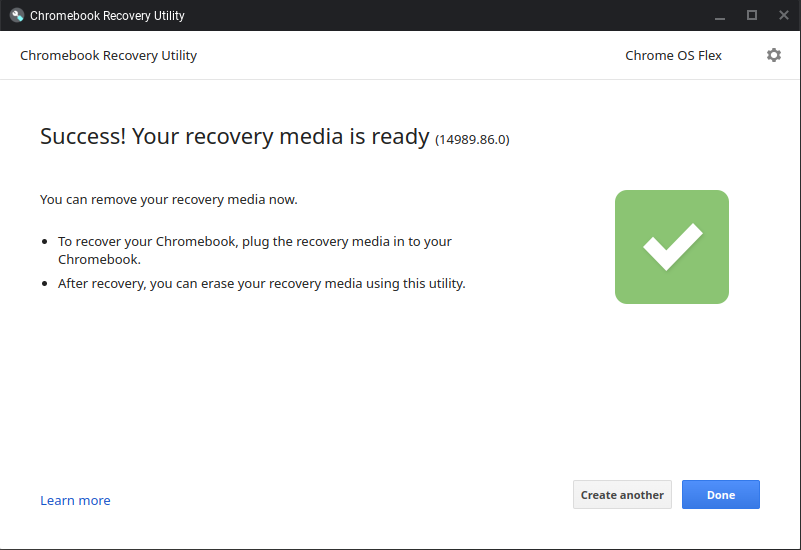
If everything finished successfully, you should see the screen above. Click Done and eject your USB flash drive or SD card.
Installing ChromeOS Flex
The next steps are not much different from installing a Linux distribution or MS Windows. Ensure that your BIOS is configured to allow booting from USB, restart your computer and let ChromeOS Flex boot up. Follow the onscreen instructions for installing. Be warned that it will erase everything on your hard drive during the installation. Once the installation has completed, you should now have a familiar looking ChromeOS operating system installed and ready to go.
Personal Experience
I’m currently running Chrome OS Flex on an HP EliteDesk 800 G5 and I have had no issues or bugs so far. ChromeOS Flex runs extremely fast and smooth on this hardware.